In the previous post, I described how to get your Java SDK installed on your machine. In this piece, I’ll lay out how to get your tomcat instance up and running.
Let’s setup our JAVA_HOME. While you can set this setting in many places, I decide to stick it in bash.bashrc.
My Java installation from apt-get put Java under /usr/lib/jvm/java-6-sun.
sudo vi /etc/bash.bashrc
Enter in:
# set JAVA_HOME environment variable
JAVA_HOME=/usr/lib/jvm/java-6-sun
Save and quit vi. Log out and log back into your console and you should be able to do
 >>echo $JAVA_HOME
/usr/lib/jvm/java-6-sun
I went through the initial attempt of installing tomcat from apt-get. This resulted in a successfully download of all the files, but I wasn’t able to get tomcat to start up. Not only that, it installed tomcat and created symbolic links everywhere and there were permission issues galore. Thanks to the beauty of slicehost, I just rebuilt my machine from my previous snapshot (luckily I made a snapshot after the previous post).
So, I decided to just download and install tomcat manually. I decided on apache-tomcat-5.5.25.
To get started, download the tarball and extract it somewhere.
wget http://apache.cs.utah.edu/tomcat/tomcat-5/v5.5.25/bin/apache-tomcat-5.5.25.tar.gz
tar xzvf apache-tomcat-5.5.25.tar.gz
cp -R apache-tomcat-5.5.5 <PATH_TO_TOMCAT_INSTALL>
You will need to go to the bin directory and set some file permissions so you can execute some of the files.
cd <PATH_TO_TOMCAT_INSTALL>/bin
sudo chmod a+x *.sh
It’s a probably good time to see if things are looking good. So try,
 >> ./version.sh
Using CATALINA_BASE:   /usr/share/tomcat
Using CATALINA_HOME:   /usr/share/tomcat
Using CATALINA_TMPDIR: /usr/share/tomcat/temp
Using JRE_HOME:       /usr/lib/jvm/java-6-sun
Server version: Apache Tomcat/5.5.25
Server built:   Aug 24 2007 05:33:50
Server number:  5.5.25.0
OS Name:        Linux
OS Version:     2.6.16.29-xen
Architecture:   amd64
JVM Version:    1.6.0-b105
JVM Vendor:     Sun Microsystems Inc.
Sexy. Let’s go ahead and try to startup tomcat.
./startup.sh
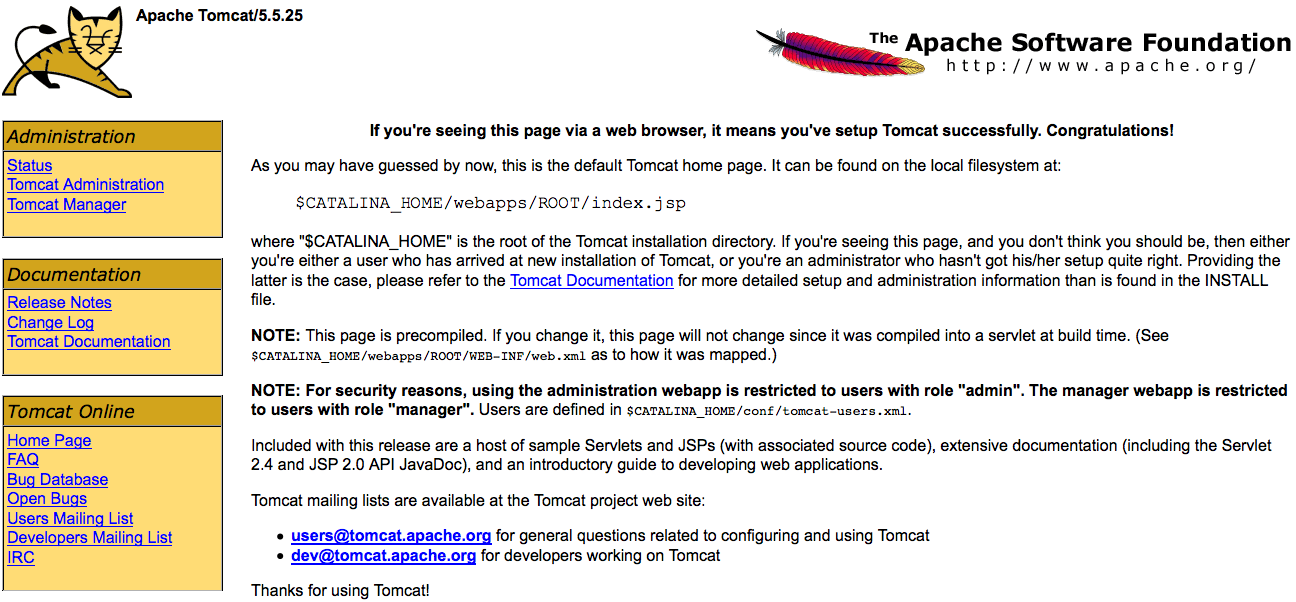
By default, tomcat should be running on port 8080. (If you tried to install from apt-get, it’s setup on port 8180)
Setting up the tomcat manager
sudo vi conf/tomcat-users.xml
We need to setup a manager role to see the tomcat status page:
<tomcat-users>
  ...
  <role rolename="manager">
  ...
  <user username="admin" password="mysecretpassword" roles="tomcat,manager">
</tomcat-users>
Restart tomcat and confirm you can log into the Tomcat status page and we’re done!
TODOS:
- I need to setup the system to run tomcat on startup
- I need to write an init.d script
- I need to get tomcat to proxy through apache via mod_jk
[…] Java SDK on Feisty Part 2 […]
It was very much helpful…thank you